

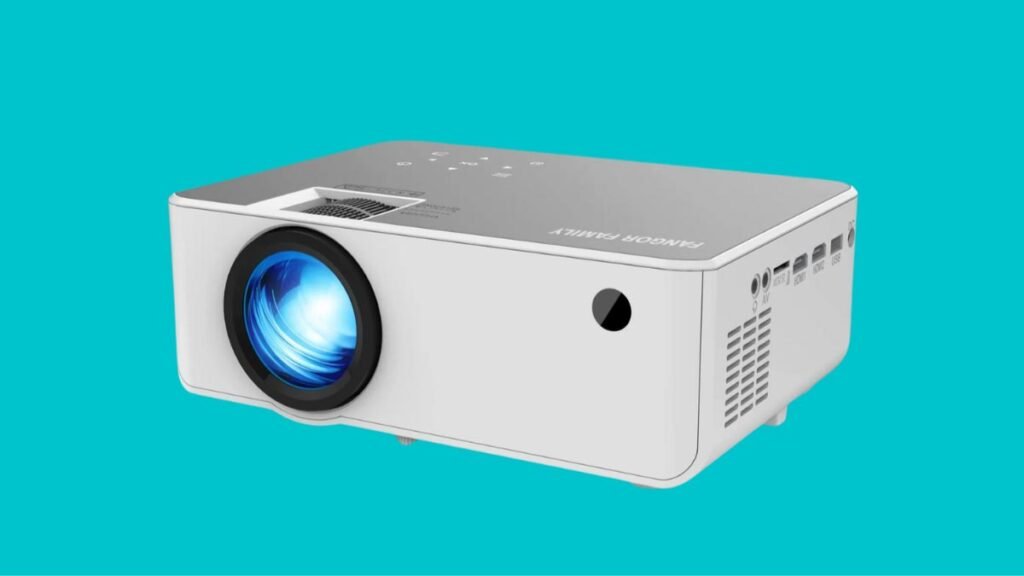
您是否正在解決如何將 Fangor 投影儀連接到筆記本電腦? 如果您想弄清楚如何向一屋子的人展示您的筆記本電腦屏幕? 出色地, 如果您有一台 Fangor 投影儀,祝您好運. 您可以輕鬆地在 Fangor 投影儀和筆記本電腦之間建立連接. 您只需使用 DVI 即可做到, HDMI, VGA線, 或藍牙 (如果您的兩台設備都支持). 所以, 讓我們開始吧……
將 Fangor 投影儀連接到筆記本電腦
連接 班戈投影儀 到筆記本電腦或在筆記本電腦和投影儀之間建立連接, 你必須遵循這些方法或過程:
方法 # 1 在 Windows 上使用電纜 10
對於此方法,您必須遵循三個步驟
1. 首先, 您必須將電纜插入位於兩個設備上的端口 投影儀 和你的筆記本電腦. 識別或驗證電纜後 (HDMI, DVI接口, 或VGA), 你可以連接兩個端口. 可能會標記多個視頻連接端口; 但如果端口沒有標記, 您必須查看電纜的形狀,然後將其插入看起來完全相同的端口. 請記住,筆記本電腦上最常見的輸出源是 VGA 端口. 此類端口看起來就像由三排,每排五個孔組成或具有的端口. 所以, 如果筆記本電腦沒有 VGA 端口, 這意味著它必須保留一個 HDMI 端口. 如果筆記本電腦兩者都沒有, 那麼在這種情況下用戶可能需要購買 VGA 或 HDMI 適配器. 部分 Windows 計算機支持 Miracast, 如果 Fangor 投影儀也支持該功能, 這意味著您不需要任何類型的電纜. 了解您的 Windows 筆記本電腦是否支持 Miracast, 您必須搜索並打開 Connect 應用程序.
2. 之後您必須打開投影儀 (和筆記本電腦, 如果需要的話). 您的投影儀和筆記本電腦都需要打開才能繼續.
3. 現在, 您必須按 ⊞ Win+P,然後選擇共享選項. 如果你必須這樣做, 在你的顯示器上, 您的顯示器上將出現屏幕共享選項列表:
電腦屏幕而已: 此僅 PC 屏幕選項將關閉您的投影屏幕,因此意味著您的筆記本電腦屏幕不共享.
複製: 您可以共享從屏幕到投影儀的所有內容, 但您將能夠在筆記本電腦屏幕上看到投影儀上的確切圖像.
延長: “範圍”選項會將您的投影儀視為筆記本電腦屏幕的擴展,它將為您提供更多空間; 對於您需要分享的任何內容, 您只需從筆記本電腦的屏幕拖動到投影區域即可.
僅第二個屏幕: 您可以共享從屏幕到投影儀的所有內容, 但您將無法在筆記本電腦的顯示屏上看到任何內容.
方法 # 2 在 Windows 中使用藍牙 10
對於此方法, 您必須遵循下面提到的四個步驟:
1. 首先, 你必須打開你的
投影儀 (和你的筆記本電腦, 如果需要的話). 這裡, 您還需要打開投影儀和筆記本電腦的屏幕才能繼續.
2. 然後, 您必須將投影儀設置為配對模式. 通常情況下, 投影儀上放置了一個按鈕 (或者 projy 附帶的遙控器可用) 該按鈕將打開藍牙並使其可發現和可配對, 但我們將參閱您的投影儀的使用手冊以了解更多詳細信息.
3. 在那之後, 您必須連接到筆記本電腦上的項目. 通常, 您將可以訪問任務欄中的藍牙連接中心,然後您必須選擇連接到投影儀.
最初與投影儀配對時, 系統可能會提示您驗證或確認號碼’ 系列或密鑰.
4. 您必須按 ⊞ Win+P. 您的顯示器上將出現屏幕共享選項列表:
一個選項將是 “僅電腦屏幕”, 它將關閉您的投影屏幕,這樣您的筆記本電腦屏幕就不會被共享.
另一種選擇是 “複製”, 意味著您可以共享從屏幕到投影儀的所有內容, 但請記住,您將能夠在投影儀和筆記本電腦的屏幕上看到相同的圖像.
第三是 “延長” 選項. 此選項會將您的投影儀視為筆記本電腦屏幕的擴展,並為您提供更多空間; 對於您需要分享的任何內容, 您需要從筆記本電腦的屏幕上拖動投影區域.
另一個是 “僅第二個屏幕”, 您可以共享從屏幕到投影儀的所有內容, 但您將無法在筆記本電腦的顯示屏上看到任何內容.
方法 # 3 在 Mac 上使用電纜
對於第三種方法, 你必須遵循下面提到的步驟:
1. 首先, 您必須將電纜插入投影儀和 Mac 上的端口. 當您確定電纜類型後 (HDMI, DVI接口, 或VGA), you can be able to connect the two. Some video connection ports will be labeled; but if these are not labeled, 然後, you have to look at the cable’s shape and try to plug it into a port which looks the same.
The output’s common source on a laptop are VGA ports. These ports are just look as the ports consisting of three rows of five holes each. If your laptop does keep a VGA port, then it must have an HDMI port. If your laptop has no port, it means you you might require to buy a VGA or HDMI adapter.
If there are no ports on your Mac, then you can get an adapter for either HDMI or VGA which plugs into your Thunderbolt port.
2. 現在, you have to click on Apple Logo. You can find this logo on the the menu’s left side which runs horizontally across your screen’s top. If Mac automatically detects and projects the laptop screen to the projector, then you don’t need to proceed with this method.
3. 在那之後, you have to Click System Preferences. It is normally the second or third listing in the menu.
4. Then you have to Click Displays. It is normally in the second row of icons next to an icon of your display screen.
5. 現在, you have to Click the Arrangement tab. You’ll observe this along the top of your window next to General, and Color.
You can be able to drag and drop your display screens outlined or you can also click in order to check the box next to “Mirror Displays” to display the exact thing on both your projector and your laptop.
常見問題解答
為什麼您的筆記本電腦無法連接到投影儀?
If it happened, you have to check out the connecting cable from the projector to Notebook is safer or secured. You can also try to change the cable connecting the external monitor. If the new cable that you have changed works welk, it means the fault was in your previous cable. You have to press on the projector and then, you have to select the connection port that you’re going to use.
如何將筆記本電腦連接到沒有 HDMI 的投影儀?
Bluetooth option is anotber best option for connecting your laptop to your projector without using a cable. Your projector and your laptop must both be equipped or consisting with Bluetooth option, and then your both two devices can be paired and connected in just few seconds.
結論
If you are worried about to connect Fangor Projector to Laptop then don’t fret, 這篇文章只適合你. Here the easy solutions are available for you. 希望, this article will help you a lot to fix your issue.

