

Koj puas tsis meej pem txog yuav ua li cas txuas Fangor Projector rau Laptop? Yog tias koj xav paub yuav ua li cas tso saib koj lub laptop screen rau ib chav ntawm cov neeg? Zoo, Koj muaj hmoo yog tias koj muaj Fangor projector. Koj tuaj yeem txuas koj Fangor Projector rau koj lub laptop yooj yim. Koj tuaj yeem ua qhov no tsuas yog siv DVI, HDMI, VGA cable, lossis Bluetooth (yog tias nws tau txais kev txhawb nqa los ntawm ob qho ntawm koj cov khoom siv). Li ntawd, yog li, Cia peb pib……
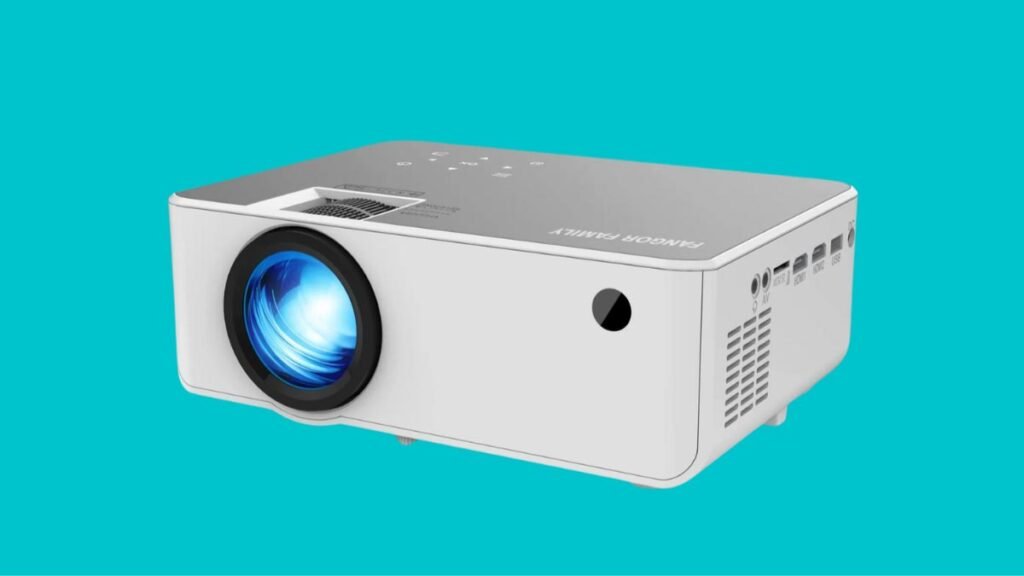
Txuas Fangor Projector rau Laptop
Txuas Fangor Projector to Laptop or to make a connection between your laptop and your Projector, you have to follow these methods or process:
Txoj kev # 1 Siv Cable nrog Windows 10
For this method you have to follow three steps
1. xub thawj, you have to plug in the cable to the port located on both your projector and your laptop. After identifying or verifying the cable (HDMI, DVI, or VGA), you can be able to connect the two ports. A number of video connection ports may be labeled; but if the ports are not labeled, you have to see the cable’s shape and then you will plug it into a port which looks the exact. Keep in mind the most usual output source on your laptop are VGA ports. Such ports are just look as the ports consisting or having of three rows of five holes each. Li ntawd, yog li, if a laptop does not maintain a VGA port, nws txhais tau tias nws yuav tsum muaj HDMI chaw nres nkoj. Yog tias lub laptop tsis muaj, tom qab ntawd hauv qhov xwm txheej no tus neeg siv yuav tsum tau yuav VGA lossis HDMI adapter. Miracast tau txais kev txhawb nqa los ntawm qee lub Windows computers, yog tias Fangor projector txhawb nqa qhov tshwj xeeb ntawd ib yam nkaus, nws txhais tau tias koj yuav tsis xav tau ib hom cables. Kom paub seb koj lub Windows laptop puas txhawb nqa Miracast lossis tsis, koj yuav tsum nrhiav thiab qhib lub app Txuas.
2. Tom qab ntawd koj yuav tsum qhib koj lub projector (thiab laptop, yog tias xav tau). Ob qho tib si koj lub projector thiab koj lub laptop yuav tsum tau qhib nyob rau hauv thiaj li yuav txuas ntxiv.
3. Tam sim no, koj yuav tsum nias ⊞ Win + P thiab ces xaiv ib qho kev xaiv sib koom. Yog tias koj yuav tsum tau ua nws, ntawm koj tus saib, ib daim ntawv teev cov kev xaiv sib koom yuav tshwm sim ntawm koj tus saib:
PC Screen nkaus xwb: Qhov kev xaiv PC Screen tsuas yog yuav kaw koj lub vijtsam projection, uas txhais tau tias koj lub laptop screen tsis sib koom.
Theej tawm: Koj tuaj yeem qhia txhua yam los ntawm qhov screen rau koj lub projector, tab sis koj yuav tuaj yeem pom cov duab tseeb ntawm koj lub projector ntawm koj lub laptop screen.
Txuas ntxiv: Qhov kev xaiv Extend yuav kho koj lub projector raws li kev txuas ntxiv ntawm koj lub laptop screen thiab nws yuav muab koj ntau qhov chaw; Rau txhua yam uas koj yuav tsum tau qhia, Koj tsuas yog yuav tau rub los ntawm koj lub laptop screen mus rau qhov projection cheeb tsam.
Thib ob screen xwb: Koj yuav muab txhua yam los ntawm qhov screen mus rau lub projector, tab sis koj yuav tsis tau pom dab tsi ntawm koj lub laptop zaub screen.
Txoj kev # 2 Siv Bluetooth nrog Windows 10
Rau txoj kev no, koj yuav tsum ua raws li plaub kauj ruam uas tau hais hauv qab no:
1. Ua ntej no, Koj yuav tsum tig rau koj
projector (and your laptop, yog tias xav tau). No, you will also require to power on the screen of your Projector and your laptop in order to continue.
2. Ces, you have to set your projector in Pairing Mode. p, a button is placed on the projector (or a remote is available that came with projy) that button will turn Bluetooth on and create it discoverable and pairable, but we will refer to the instruction manual of your Projector for further details.
3. tom qab ntawd, you have to connect to the project on your laptop. Feem ntau, you’ll get access the Bluetooth connection center in the taskbar and then you have to select to connect to your projector.
When initially pairing with your projector, you may be prompted in order to verify or confirm a numbers’ series or a passkey.
4. You have to Press ⊞ Win+P. On your monitor a screen-sharing options’s list will occur:
An option will be “PC Screen Only”, it will turn off your projection screen so your laptop screen is not shared.
The other option is “Theej tawm”, means that you can share everything from your screen to your projector, but remember you will be able to see the same image on your projector and on the screen of your laptop.
Third is “Txuas ntxiv” kev xaiv. This option will treat your projector as an extension of the screen of your laptop and it will offer you more space; for anything you need to share, you’ll have require to drag from the screen of your laptop the projection area.
Another is “Thib ob screen xwb”, you can share everything from the screen to your projector, tab sis koj yuav tsis tau pom dab tsi ntawm koj lub laptop zaub screen.
Txoj kev # 3 Siv Cables ntawm Mac
For this third method, you have to follow below-mentioned steps:
1. Ua ntej no, you have to plug in the cable to the port on both you projector and Mac. When you have identify the cable type (HDMI, DVI, or VGA), you can be able to connect the two. Some video connection ports will be labeled; but if these are not labeled, Tom qab ntawd, you have to look at the cable’s shape and try to plug it into a port which looks the same.
The output’s common source on a laptop are VGA ports. These ports are just look as the ports consisting of three rows of five holes each. If your laptop does keep a VGA port, then it must have an HDMI port. If your laptop has no port, it means you you might require to buy a VGA or HDMI adapter.
If there are no ports on your Mac, then you can get an adapter for either HDMI or VGA which plugs into your Thunderbolt port.
2. Tam sim no, you have to click on Apple Logo. You can find this logo on the the menu’s left side which runs horizontally across your screen’s top. If Mac automatically detects and projects the laptop screen to the projector, then you don’t need to proceed with this method.
3. tom qab ntawd, you have to Click System Preferences. It is normally the second or third listing in the menu.
4. Then you have to Click Displays. It is normally in the second row of icons next to an icon of your display screen.
5. Tam sim no, you have to Click the Arrangement tab. You’ll observe this along the top of your window next to General, and Color.
You can be able to drag and drop your display screens outlined or you can also click in order to check the box next to “Mirror Displays” to display the exact thing on both your projector and your laptop.
FAQS
Vim li cas koj lub laptop tsis txuas rau koj lub projector?
If it happened, you have to check out the connecting cable from the projector to Notebook is safer or secured. You can also try to change the cable connecting the external monitor. If the new cable that you have changed works welk, it means the fault was in your previous cable. You have to press on the projector and then, you have to select the connection port that you’re going to use.
Yuav Ua Li Cas Txuas Lub Laptop Rau Lub Projector Tsis Muaj HDMI?
Bluetooth option is anotber best option for connecting your laptop to your projector without using a cable. Your projector and your laptop must both be equipped or consisting with Bluetooth option, and then your both two devices can be paired and connected in just few seconds.
Xaus
If you are worried about to connect Fangor Projector to Laptop then don’t fret, tsab xov xwm no tsuas yog rau koj. Here the easy solutions are available for you. Hopefully, this article will help you a lot to fix your issue.


